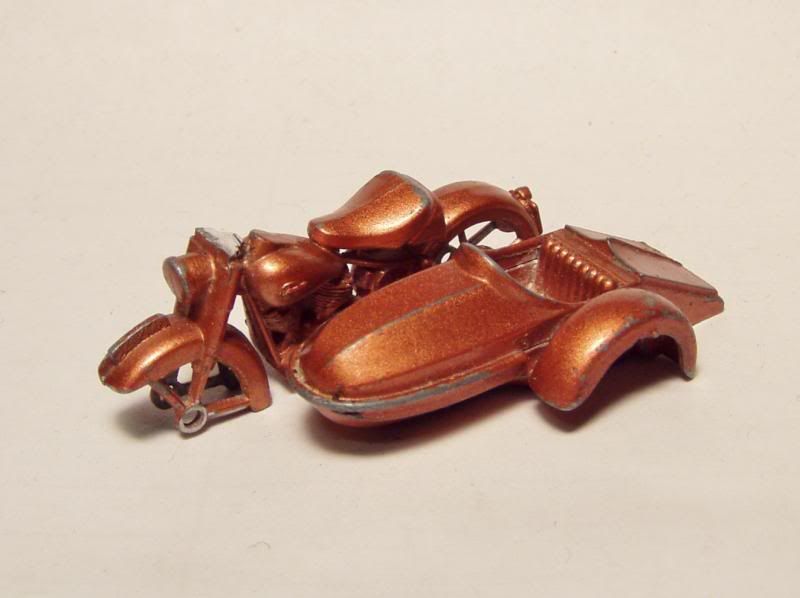
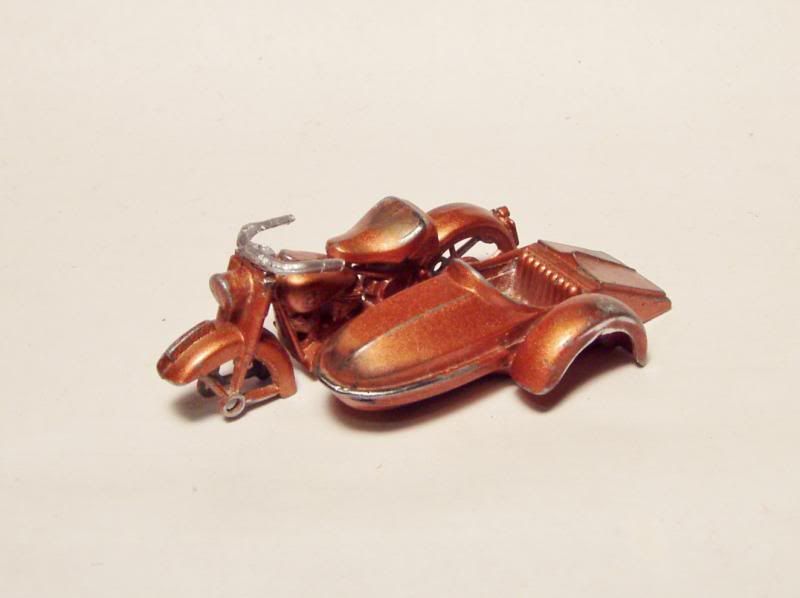
The thought: You saw a pair of white metal replacement handle bars on Steve Flowers table at the last show. You bought them on the off chance you might try to use them one day. You inspect the handle bars and then the model and it seems like the repair is beyond your skills.
My advice: If you have a little patience and some modeling experience (or if do well with small detail work), you can do this. The first thing I recommend is to work on the replacement handle bars and make them ready for the job. Here's how they look right from the mold:

In the next photo, I point out some of the flash caused by the seams in the mold. This can be taken off and smoothed out using a mini file or some sand paper. Be careful working with the handle bars as the white metal is soft to it's easy to bend them and they require a firm but gentle handling.

Now look at the ends of the handle bars. You will notice that one side (right side as seen here while the handle bar is upside down) is slightly longer then the other. Take a small wire cutter or even a finger nail clipper and shorten the offending side so they look even. I prefer the nail clipper as it works very well and leaves a nice clean cut.


Here's the handle bars with the flashing cleaned up and the one side trimmed down to look even.

Let's focus on the motorcycle now. We have to remove the old handle bars plus a wee bit more in order to make room for the new speedometer. This can be done with a Dremel and/or mini files. I use a combination of both. It's important to fit the handle bars to the cycle several times so that you get things filed off at the correct angle. Remove metal in small amounts and perform repeated fittings. You do NOT want to remove too much metal from the motorcycle in one go. Once you get the fit looking good, the handle bars can be set into place with a drop of epoxy or your favorite fast setting glue.
This is the point where I need to talk about a choice you need to make about how the handle bars mount. Look at the below photo again. The handle bar is upside down and you can see that little tiny mounting stud cast on the underside. This will be in the way for trial fitting and I recommend you clip it off and file the mount spot (on the underside of the handle bar) smooth (so as to better mate with the motorcycle). If you want to use the mounting stud, I have more advice at the end of the article.


You should have the motorcycle "paint ready" prior to affixing the handle bars on the bike with glue. Once the glue is set, paint the bike and (when dry) install the wheels & axles. In the photos below, you will notice I've only removed paint as needed and sanded all chips to a smooth edge. This leaves paint in all the hard to reach areas and produces a better final paint job.


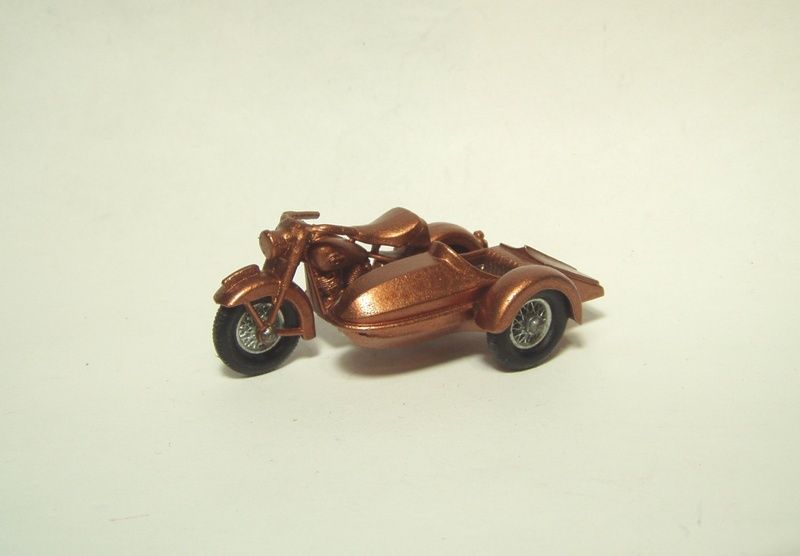
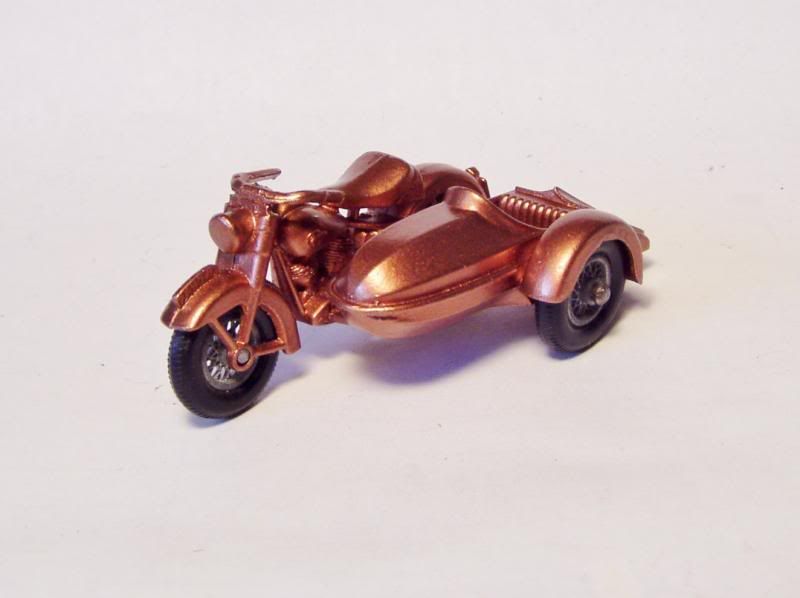
Some photos of two models repaired and painted.


The mounting stud on the handle bars: The first time I made this repair, I used the mounting stud. What a pain in the ass that was. As previously mentioned, it made trial fitting difficult. The hard part was getting the hole for the stud (in the bike) in the correct location. I decided to make the hole slightly larger than needed so that I could slide (adjust) the handle bar around to the best fitting location. Before drilling the pilot hole, I used a dental pick to make a starting point for the wire size drill bit. I tapped the pick into the Zamac and then twisted it back and forth in my palms to make a decent dimple as a bit guide. Making the hole slightly over size also helps the stud move with regard to the mounting angle (which is another calculation you have to take into account).
The second time I made this repair, I clipped off that stud and filed the underside of the mounting point flat. That greatly simplified the process of test fitting the handle bar as well as speeding up the job. It also eliminates the risk of further damaging the bike when drilling the mounting hole. The handle bars are white metal and won't take a lot of messing around (read: are delicate), so having a more secure bond at that mounting point is really a moot point (in my humble opinion).


