
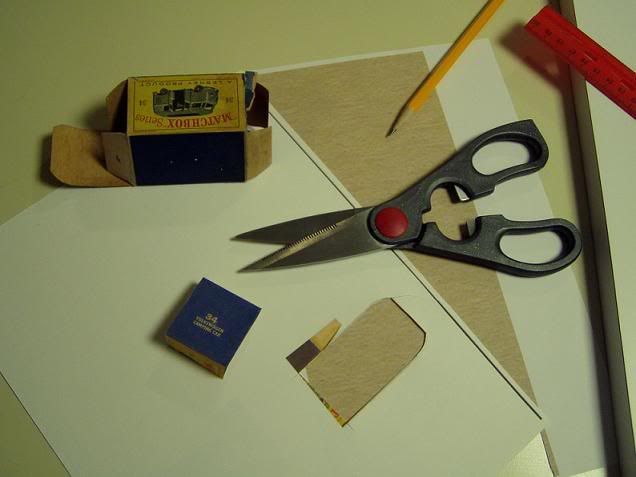
Tools needed:
Sharp scissors.
Stiff ruler.
Elmers School Glue.
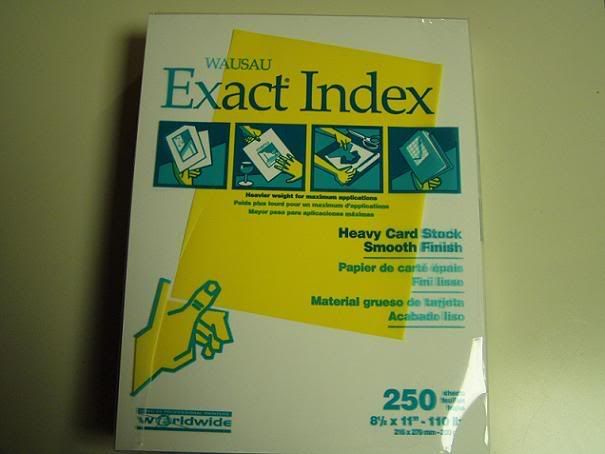
Heavy weight card stock.
A surface with a sharp 90* edge or a work block (piece of wood).
Computer, scanner & printer (or copy machine).
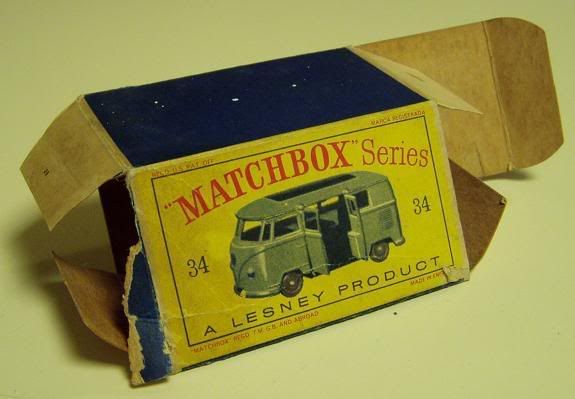
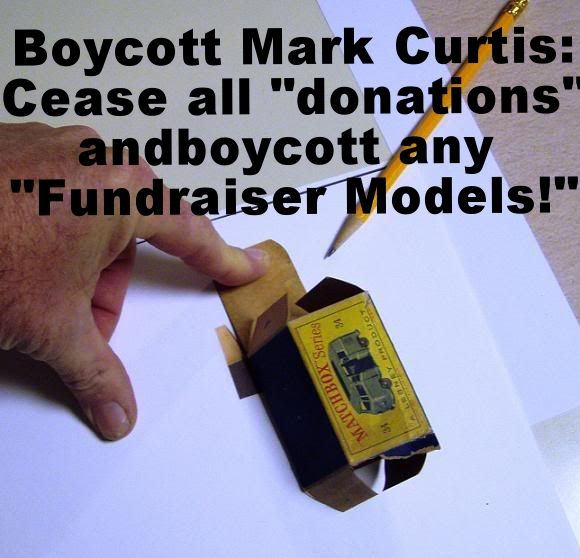
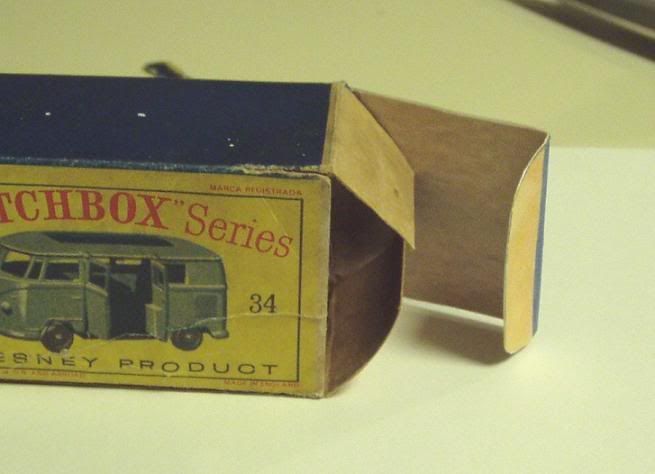
1). Damaged box with missing end flap.
2). 110 weight plain card stock.
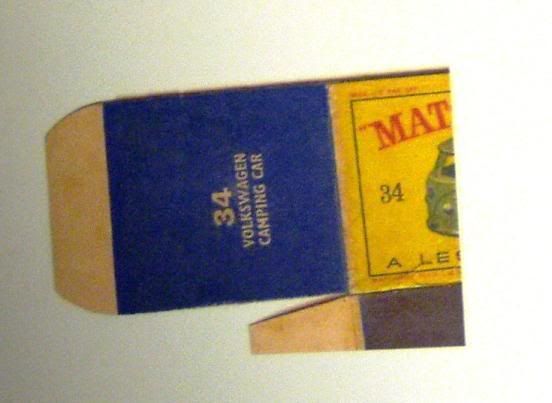
3). Scan existing end flap and crop excess box scan. Remove any defects. You don’t need Photo Shop as this can be easily done in paint. In this case I fixed some edges and a tear like crease in the scan. Adjust color as close as possible to the actual box (using your printers software). Print edited scan on the card stock.
While you doing this, make a scan of the inside color of the box flap. You can slightly enlarge the size of the scan with paint or editing software and print it out on plain paper.
4). Here’s the printed card stock and the piece of paper with the straw like color of the box interior.
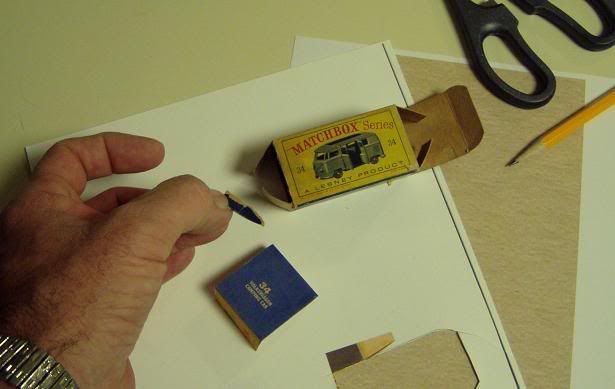
5). Trace the box flap scan and cut it out. Leave excess to glue inside and form a “hinge.” Do the same with the sheet of paper that has the box inside color. Cut the box flap paper (for the inside color) over size, spread school glue on the cut out flap and laminate the two together. Trim the laminated paper using the cardstock flap as a guide.

6). Place the finished “new flap” as shown in the photo and make the hinge bend and the flap tuck bend. A straight edge works just as well for this.

7). Trim off any remaining portion of the torn flap and make a clean edge. If the torn off flap went back into the face of the box, no problem, we have printed part of the box face and can simply line things up when gluing.
8). Place some glue on the finished hinge. Smooth the glue with your finger to cover the hinge (the part that goes in and glues to the box inside). This removes any excess and gets things good and tacky.
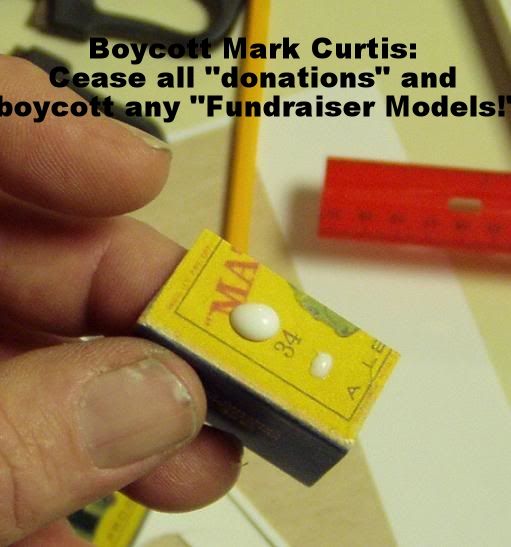
Slip the hinge part of the new flap into the box. Bring in your straight edge or a flat stick from the other end for support and smooth out the glue joint applying firm pressure.
9). The last images are of the finished repair.
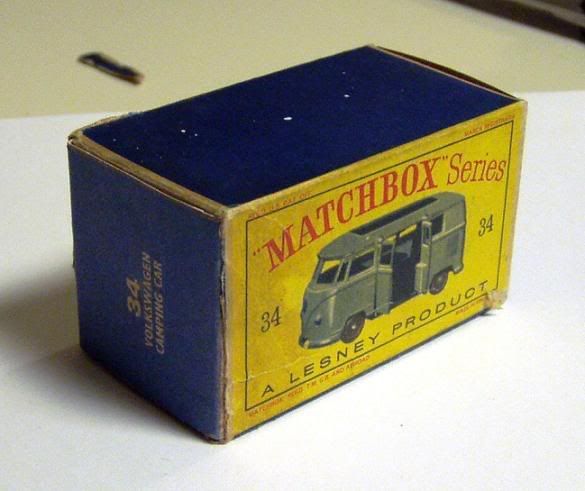
Even someone without a scanner could fix a flap on a tatty box. Just take it to office supply store or anywhere where you can do a color copy. Then laminate the plain paper copy onto a peice of 3x5 index card and cut it out. I know there's lots of guys collecting on a budget and a replacement flap goes a long way toward making a tatty box look better. That tired old VW box I used for the demo will now hold the bus for display.
If you have a detached end flap, skip to Step 4 and apply the straw color paper cut-out to the back of the loose flap. It's important to remember the part about leaving the straw colored cut-out longer to form the "hinge" for the torn original flap. You can make a near invisible repair, of a torn end flap, using this process.