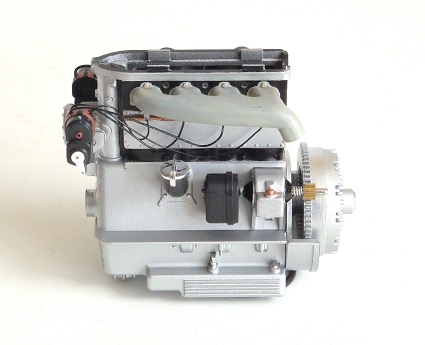
Here the engine has all the plug leads now in place and painted.
- DSC06196.JPG (58.94 KiB) Viewed 2397 times
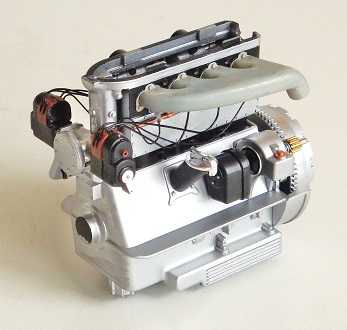
I have also finished the starter assembly and decided to leave it engaged with the starter ring. This part is not supplied in the kit so found an old friction powered toy car, cut the axle with the small cog at the end, drilled the plastic part protruding from the side of the block, made a small spring out of wire and push fit the unit into the pre-drilled hole. The actuator unit on the other side is supplied in the kit, but I have added some extra detail in the form of the little stepped strip on the side and Four bolts on the end-plate, will add a small connecting cable later.
- DSC06197.JPG (64.71 KiB) Viewed 2397 times

- DSC06198.JPG (60.88 KiB) Viewed 2397 times
The other side of the engine now has the Two 'Blow-Off' valves attached to the inlet manifold, they are the round objects.

- DSC06199.JPG (69.51 KiB) Viewed 2397 times

- DSC06200.JPG (63.88 KiB) Viewed 2397 times
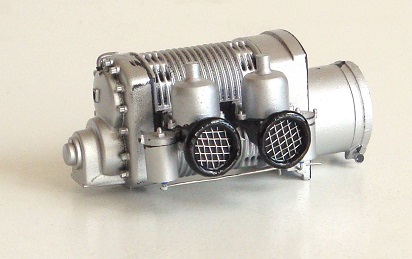
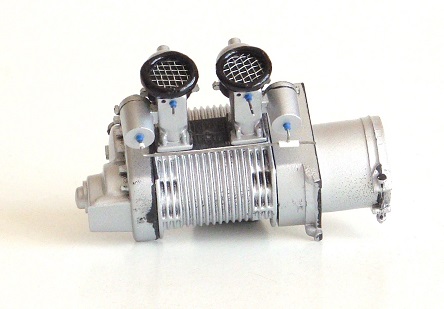
I have tackled the 'Supercharger' unit by building as per kit instructions, including the Two 'SU' Carbs, but of course adding extra detail.
- DSC06201.JPG (58.58 KiB) Viewed 2397 times
The plastic behind the mesh grilles was painted Matt Black, then some mesh stuck over and trimmed, then Two circles of solder made and stuck on top of the mesh and then the edges had to be filled. I did not have any modelling filler with me, nor any Plasticine, so used 'Blu-Tak' rolled into a thin sausage and fed around each unit. When fully smoothed, I painted Gloss Black, job done!
Underneath the Carbs I have been adding bits and bobs of plastic tubing and pieces of fine wire which when finished and painted, will be fuel feed pipes and linkages.
- DSC06202.JPG (58.13 KiB) Viewed 2397 times
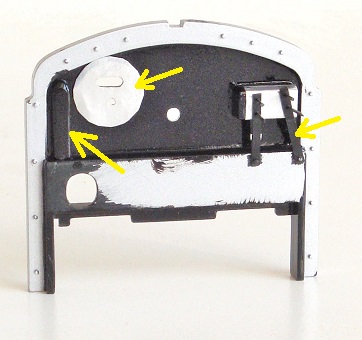
The Fire-Wall has also been touched. The Yellow arrow to the left, points to where a hard plastic blob was moulded to represent a hose, this was cut away and a new wider blob was added of a more accurate design, then I will add Two separate hoses here with the tops going through the circular alloy disc, also arrowed. The Yellow arrow to the right is highlighting an alloy cover (mine!), held in place by Two metal (plastic!), straps.
- DSC06203.JPG (62.29 KiB) Viewed 2397 times
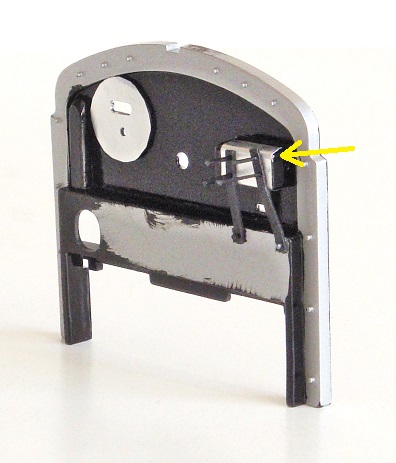
The odd looking black rods sticking out, arrowed Yellow in the picture below, when trimmed and painted, will be the bolts holding the straps in place, another job done!
- DSC06204.JPG (69.55 KiB) Viewed 2397 times
Next will be some more work on the grille and radiator and then the large 'Le Mans' style petrol tank, see you soon.
GHOSTHUNTER.