

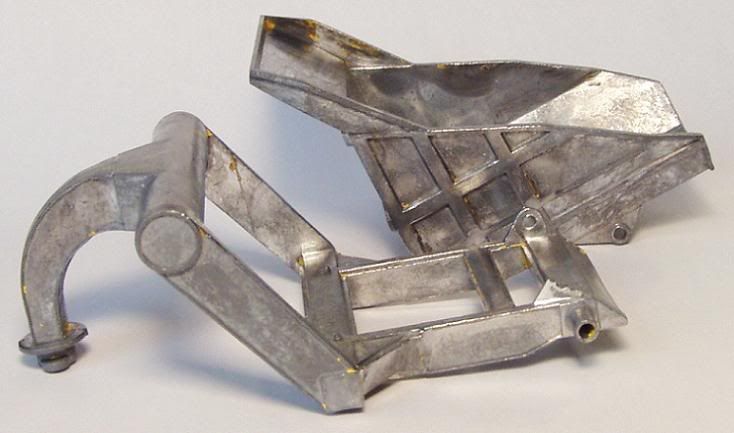
I begin by stripping the paint. Ye ole Aircraft Stripper makes fast work of the old paint
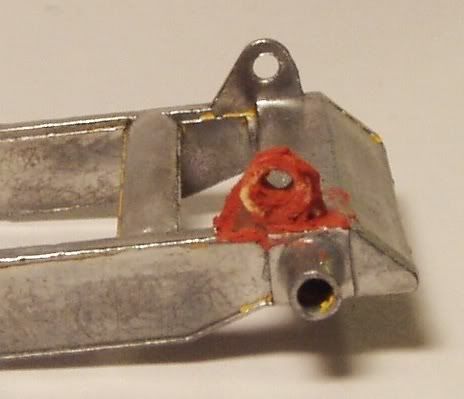
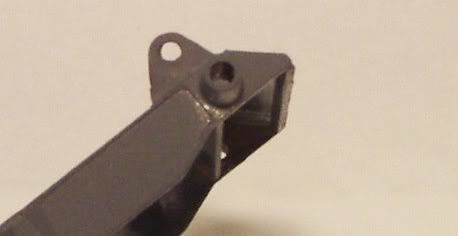
Now I am ready to do start my repair. Since the rest of the dumper is now stripped and primed, I am eager to do a quick yet cosmetic (and strong) repair. I begin with a small brass washer and some 5 minute epoxy.

I can see a small area of the original axle hole radius and I align my washer with the tiny remains. Five minute epoxy performs this task very well. I allow about 30 minutes for the epoxy to set and then I apply good ole red spot putty.
I now set the casting aside for about an hour and have some supper. After I finish my supper and desert, I use my flat needle file and shape the putty to the look I desire. Once I'm done filing, I hit the repair with some primer.
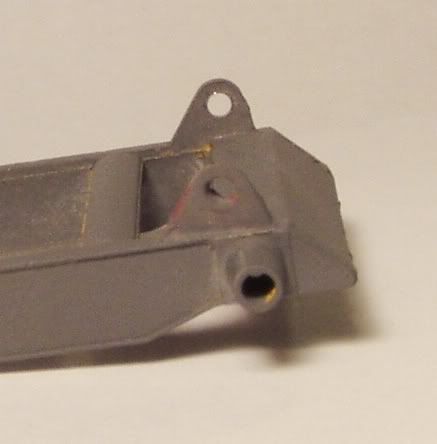
If there were still voids (or I didn't like the shape), I would add more red putty right on the primer and file again. In this case, I get lucky on the first go round and decide the shape looks good.
Here's another angle on that repaired hinge. This view has a little more contrast. I think it turned out pretty good. Best of all, it was a fast, simple and inexpensive repair.
I cleaned all the dirt and dust off the tires and applied a little Armor-All to them. The wheel rims were cleaned and buffed with a wire wheel on the Dremel and the axles were polished with 225 grit sandpaper.
I applied two finish coats of paint over the gray primer. I already had a scan of the Curtis Wright decals so I printed out a pair to finish off the project. The new dumper hinge looks great on the assembled model and works as if new.
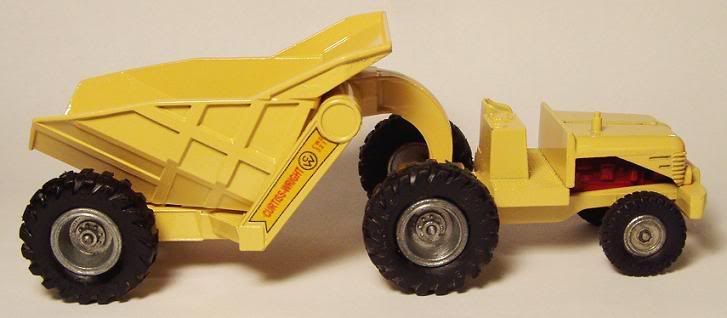
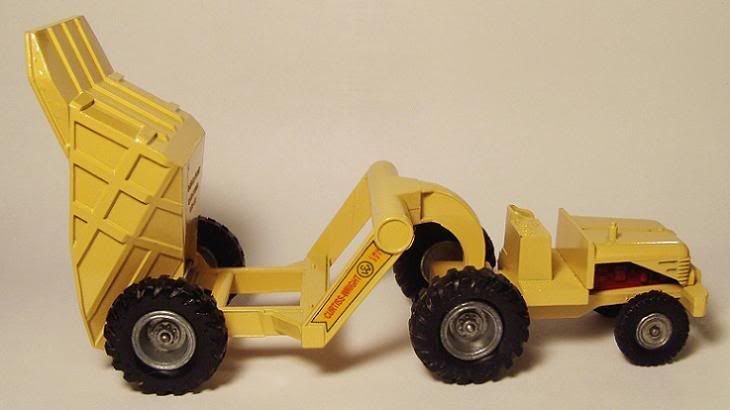
I hope someone out there enjoyed viewing this, I sure had fun putting together the post and the dumper.
